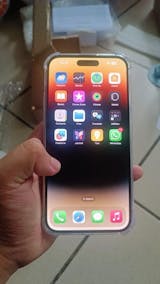
Everything You Need to Know Before Transferring Data to Your New iPhone
Getting a new iPhone is exciting, but transferring all your data from your old device to the new one can feel overwhelming. To make the process smoother, here’s everything you need to know and do before starting the data transfer.
Preparing Your Devices for Data Transfer
New Device:
- Ensure your new iPhone has the latest iOS version, preferably higher than your old device’s version.
- Perform a factory reset on your new iPhone by erasing all content and settings. Click here for a factory reset guide.
Old Device:
- Make sure Bluetooth is turned on.
- Ensure Wi-Fi is turned on.
Once both devices are ready, let’s begin the data transfer!
Step-by-Step Data Transfer Process
1. Set Up New iPhone: Keep both devices nearby with screens on. After a few minutes, your old device will show a notification, “Set Up New iPhone.” Tap “Continue.”

2. Authentication: There are two ways to authenticate:
- Scan: Use the old device's camera to scan the image on your new device.
- Pin: If you prefer, use a 6-digit PIN provided on the new device for authentication.


3. Apple ID/iCloud Sign-In: If your old device is signed in to an Apple ID or iCloud account, simply press “Set Up for Me.” If not, this step will be skipped.

4. Set Up Options: You can complete the following setup steps or skip them for now:
-
Data & Privacy: Press “Continue.”

-
Face ID: Set up now or later.

-
iPhone Passcode: Create now or set up later.

5. Transfer Data from iPhone: Press “Continue” to start the data transfer process.

6. Apple ID Password: If applicable, input your Apple ID password and press “Sign In.”

7. Terms and Conditions: Tap “Agree” to proceed.

8. Make This Your New iPhone: Press “Continue.”

9. Location Services:
- Enable: If you need GPS.
- Disable: If you don’t use GPS.

10. Siri: You can set it up now or do it later.

11. Emergency SOS: Press “Continue.”
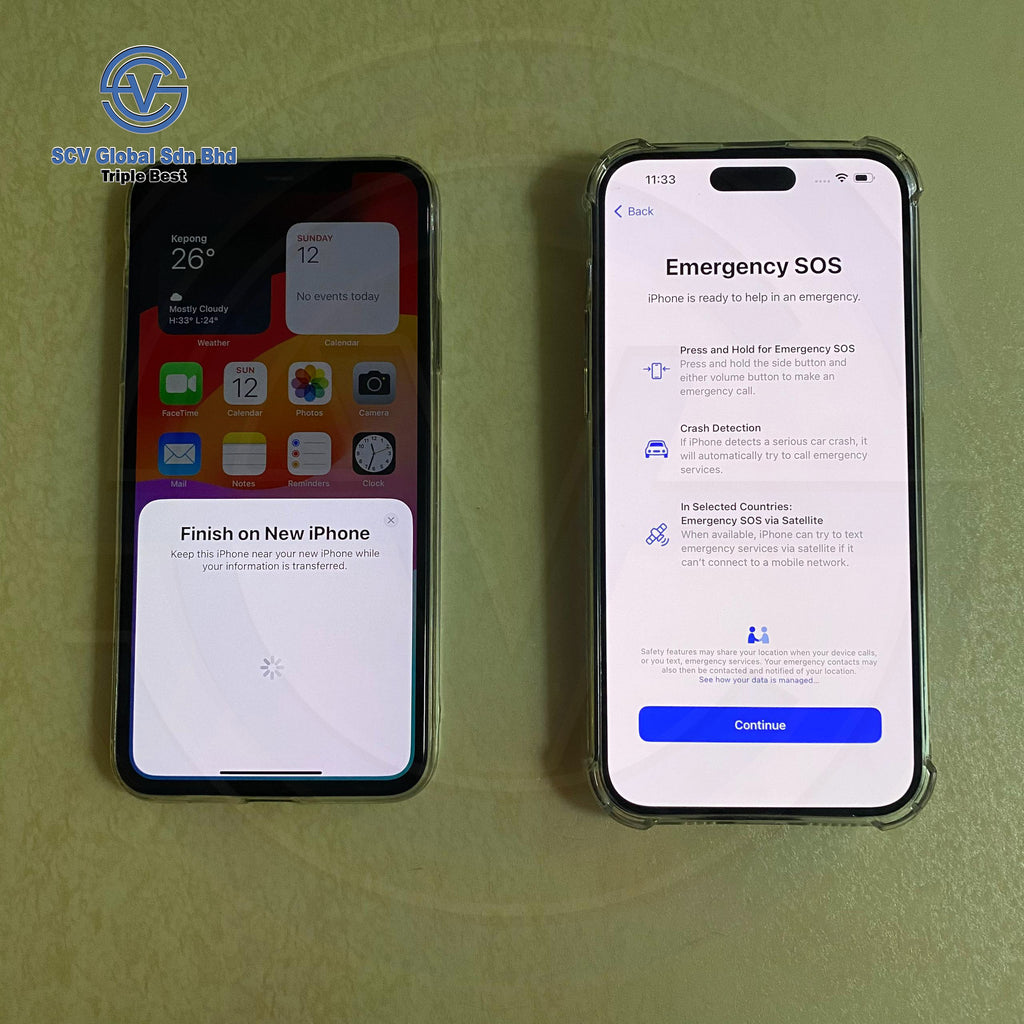
12. Transferring Data: The data transfer will begin, and an estimated time will be displayed.
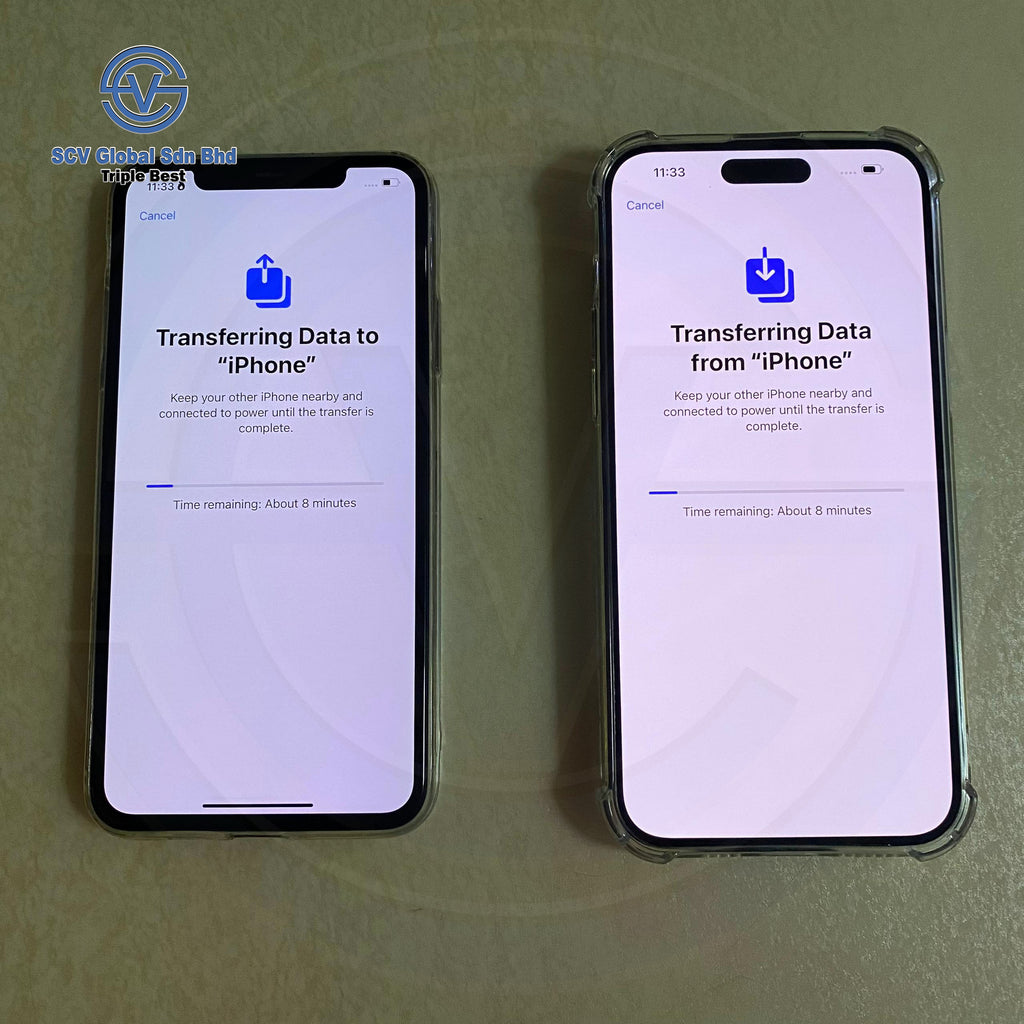
Estimated Time:
- Below 50GB: 1-3 hours
- Below 100GB: 2-4 hours
- Below 200GB: 4-6 hours
- 200GB and above: 5+ hours
Note: These times are estimates and may vary.
13. Transfer Complete: Once the transfer is done, your new device will show the Apple logo and a loading bar—this is just the data restore process.

14. All Set: Your new iPhone is ready to use!

Final Tips:
- Some apps will need to be re-downloaded after the transfer, so it’s best to stay connected to Wi-Fi for a faster experience.
Watch the Video Tutorial
For a visual guide, check out our video tutorial on data transfer.
Explore More iPhone Functions
Want to learn more about your new iPhone? Click here for tips and tricks.
If you have any questions, leave us a comment below!


